Before you begin
The Open Payments SDKs provide developers with pre-built functions that simplify interactions with the Open Payments API.
Client libraries
Section titled “Client libraries”| SDK | Status | Repo |
|---|---|---|
| C# (.NET) | In progress | open-payments-dotnet |
| Go | Done | open-payments-go |
| Java | Done | open-payments-java |
| PHP | Done | open-payments-php |
| Python | In Progress | open-payments-python-sdk |
| Rust | Done | open-payments-rust |
| TypeScript/NodeJS | Done | open-payments-node |
Using the SDKs
Section titled “Using the SDKs”Each SDK snippet page in this section uses a tabbed interface to support multiple programming languages. This means you can find the relevant code snippets for the language of your choice with ease, without needing individual pages for each language. The basic structure of each page is as follows:
- The page title reflects the operation, function, or action being performed.
- A few overview paragraphs provide context about the function, its role in the Open Payments flow, and any general information that may be helpful.
- The “Before you begin” section that links back to this page for steps to create a test wallet.
- The main content area includes the tabbed interface where you can select your preferred programming language.
In the tabbed interface, you’ll notice the following sections:
- A “Prerequisites” button that links to the respective SDK’s README on GitHub for setup instructions.
- Any additional configuration steps required for the selected language.
- A single code block with all steps in the process for easy copying and pasting.
- After the code block, any other commands that need to be run are mentioned, along with links to the relevant API reference documentation or other pertinent resources.
This consistent structure across all SDK snippet pages allow you to quickly grasp the functionality and implementation details, making it easier to work with the Open Payments SDKs.
Create an account on the test wallet
Section titled “Create an account on the test wallet”Before working with our SDK snippets, we recommend creating a test wallet account on the Interledger test network.
The test wallet lets you create accounts, funded with play money, and developer keys for making Interledger transactions via the Open Payments APIs.
- Go to wallet.interledger-test.dev.
- Click Create account at the bottom-right of the screen.
- Enter your email address, a strong password, then confirm the password. Click the arrowhead.
- Go to your inbox and look for an email sent by
tech@interledger.orgwith the subject “[Test.Wallet] Verify your account”. Click Confirm my email address. - Click Login to your account at the email verification screen.
- Log in with your credentials.
- Complete the Know Your Customer (KYC) steps. The only real information you need to share is your email address. All other information can be fake.
You’re now ready to create a test wallet and deposit money!
Create and fund a wallet account
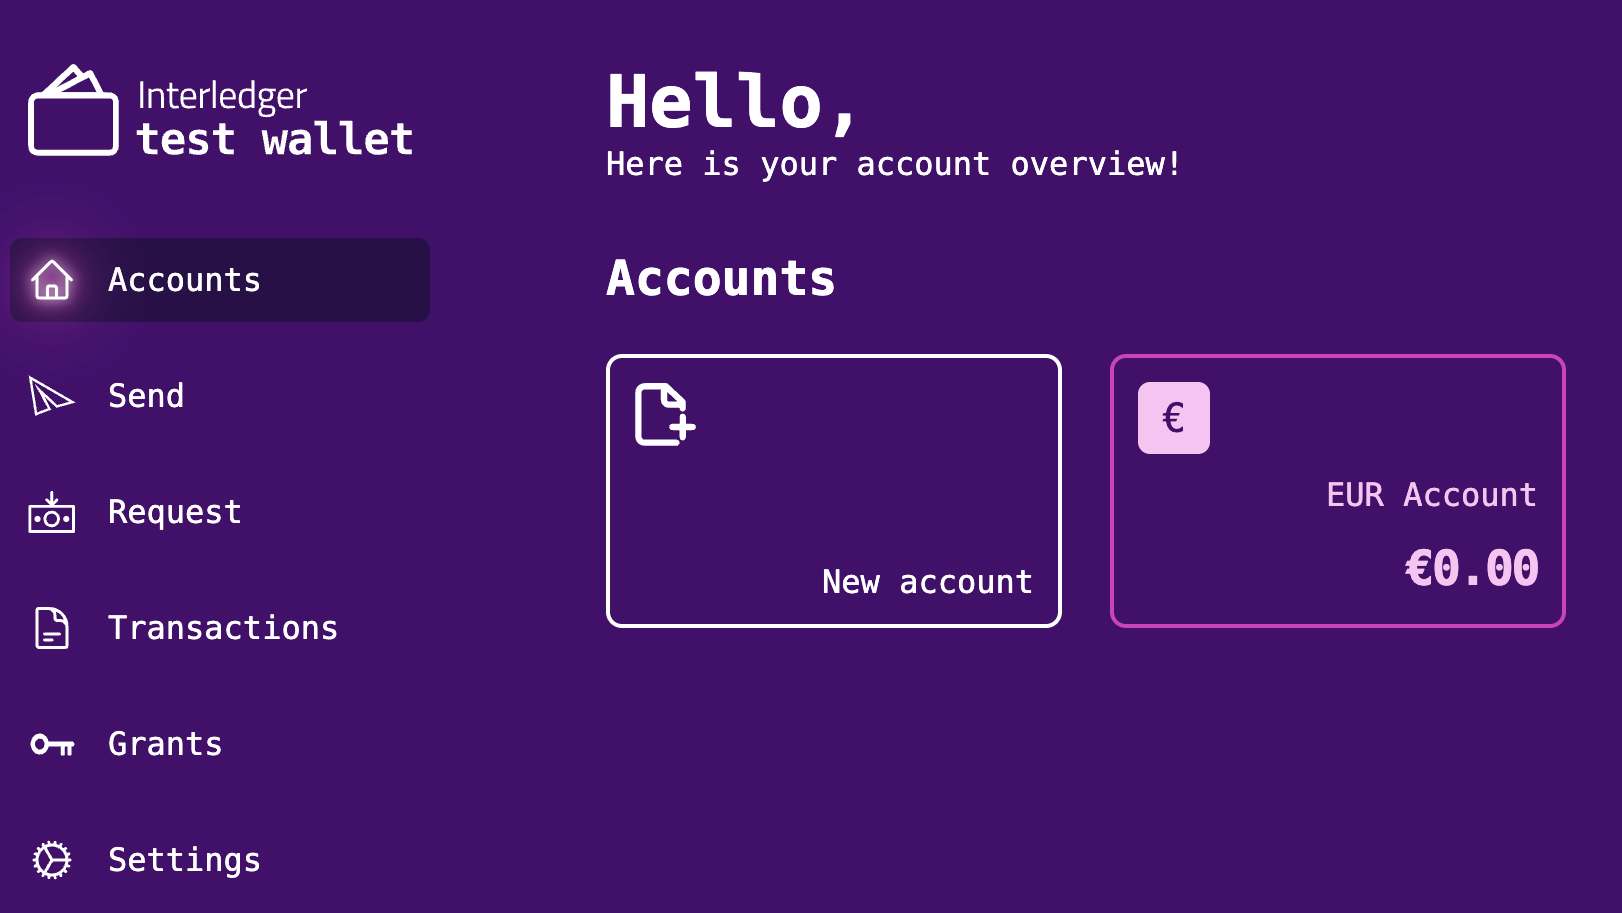
Section titled “Create and fund a wallet account”-
Click New account on the Interledger Wallet dashboard.
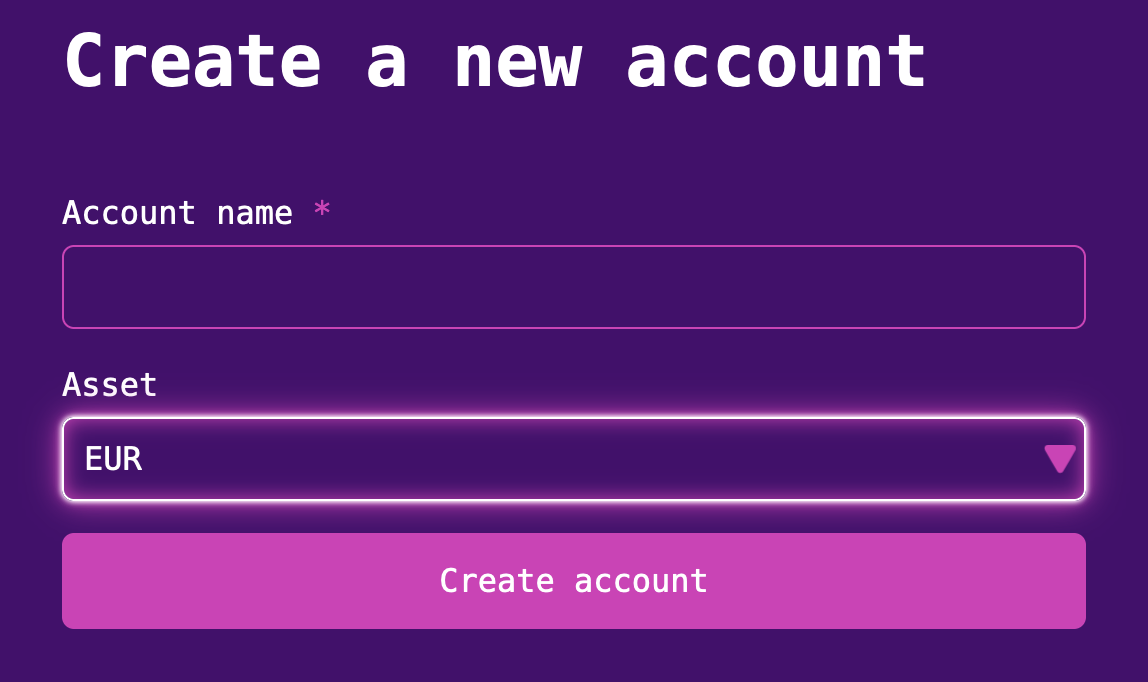
-
Enter any account name, select an asset (currency), then click Create account.
-
Click Close, then click Accounts from the left nav bar.
-
Select the account you just created.
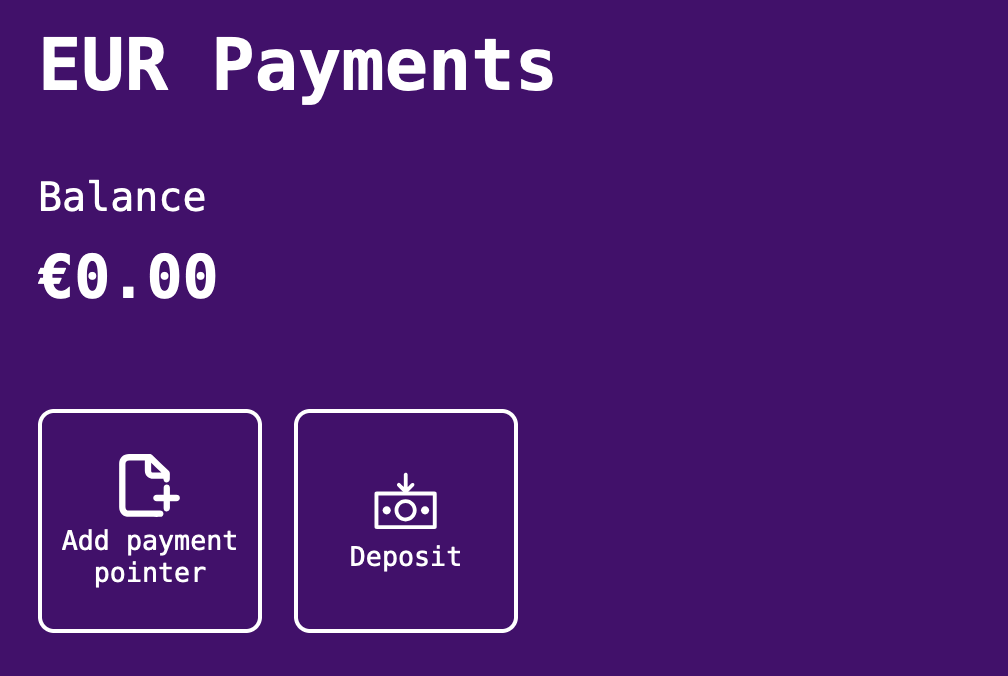
-
Click Deposit.
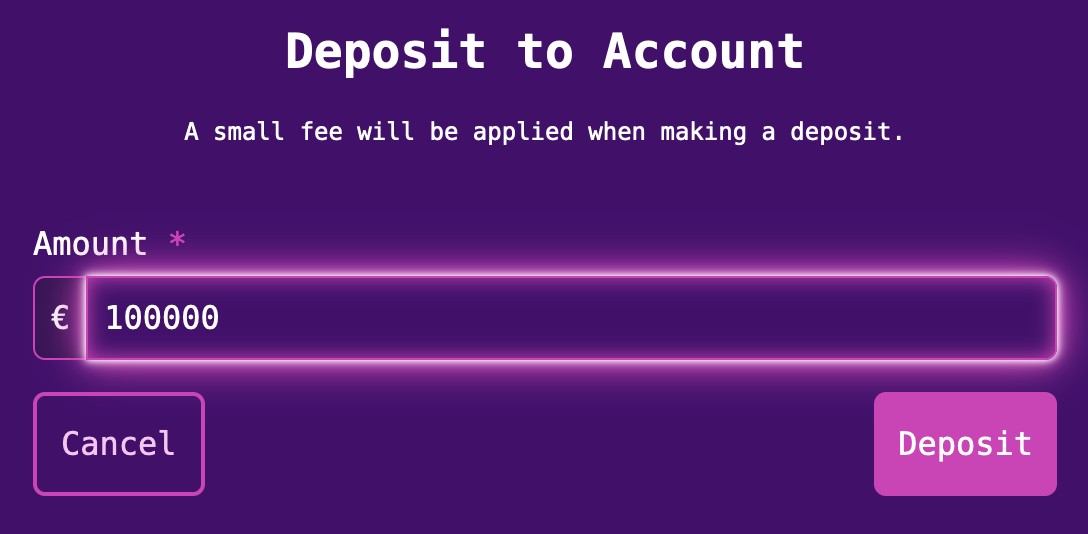
-
Enter an amount, then click Deposit.
You now have a funded test wallet!
Add a wallet address to your account
Section titled “Add a wallet address to your account”- Select the account from the Test Wallet dashboard.
- Click Add wallet address.
- Enter a Wallet Address name and a Public name of your choosing.

- Click Create. Your account now has a wallet address.
Obtain a public-private key pair and key ID
Section titled “Obtain a public-private key pair and key ID”Before you can initialize an authenticated Open Payments client, you must obtain a public-private key pair and a key ID.
-
Click Settings in the left sidebar on the dashboard.
-
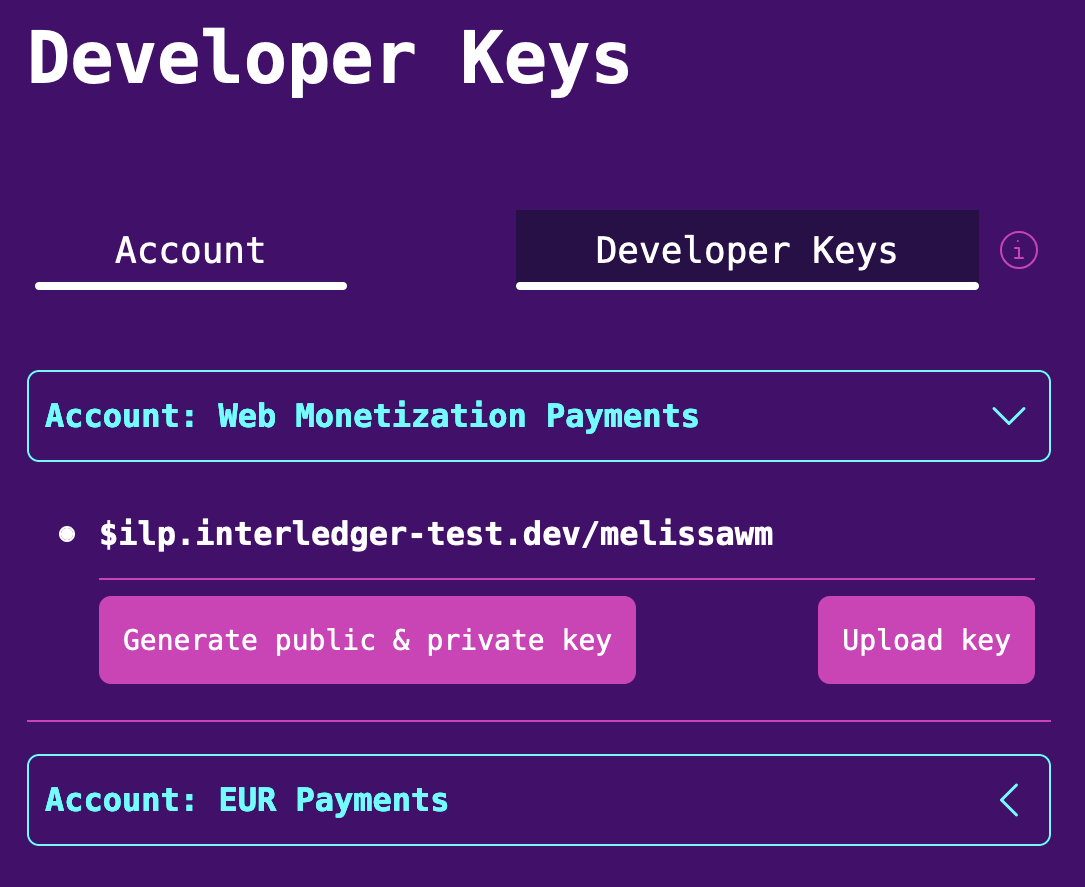
Click the Developer Keys tab.
-
Expand the menu for your wallet account.
-
Click Generate public & private key.
-
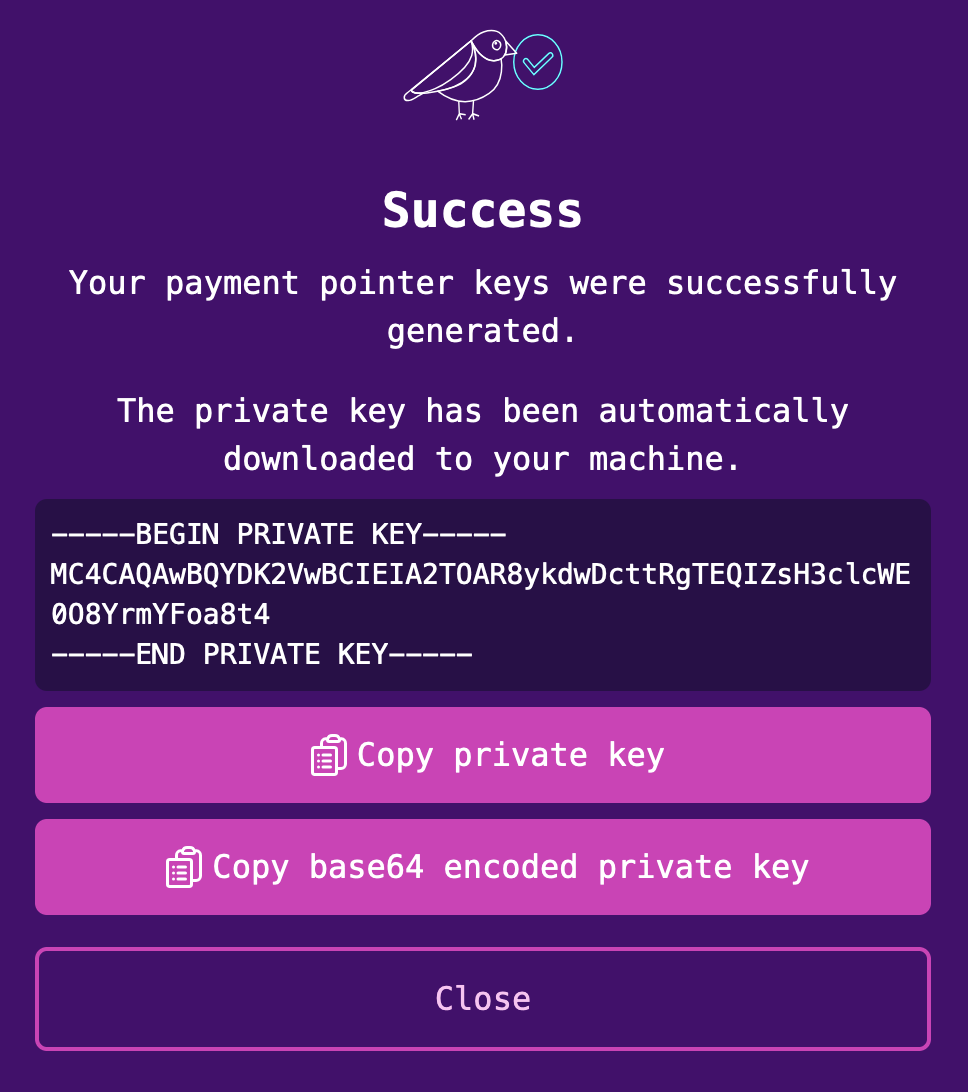
Enter any nickname for the key pair, then click Generate keys. A file named
private.keyautomatically downloads to your machine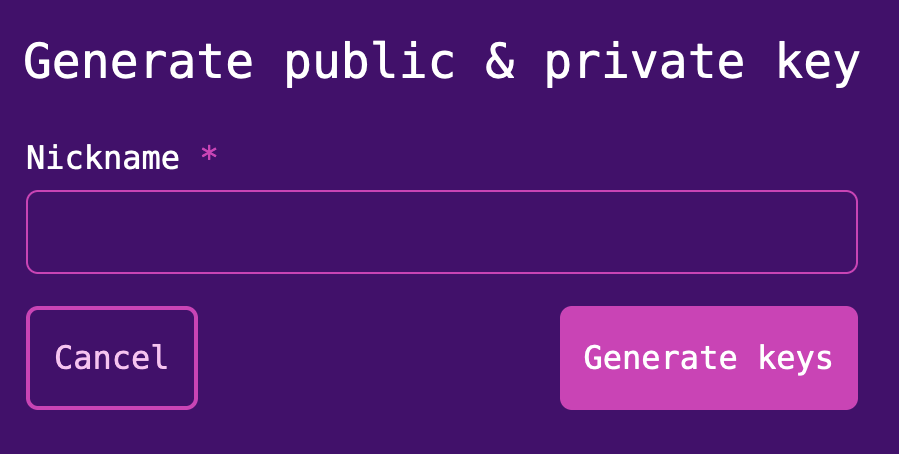
-
Click Close. Your key ID appears on the screen, along with a Show/Hide option for your public key.
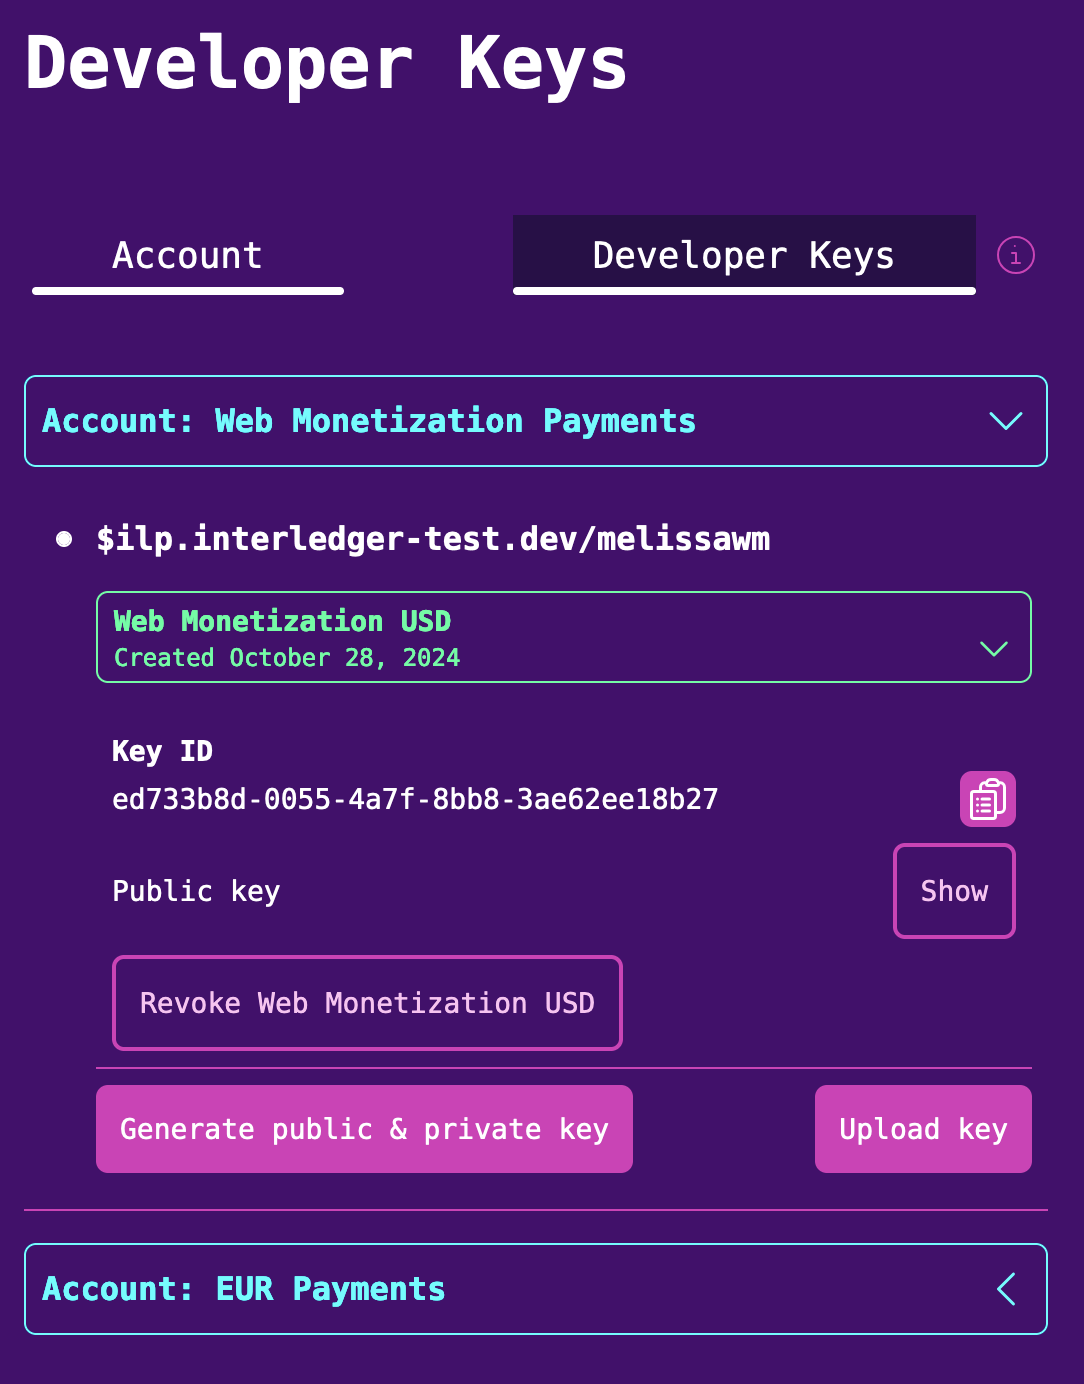
You can now use your keys and wallet address to initialize an authenticated Open Payments client.